Ledger Guide
How to sign a message with your Ledger
A step-by-step guide for signing a Bitcoin message with your Ledger during the Bitsurance registration flow.
To prove that you own the wallet you want to insure, we need a signature from you. This confirms that you control the submitted account. The signature only takes a few minutes and does not give Bitsurance access to your Bitcoin.
This guide shows you how to sign a message with your Ledger.
Install Electrum Wallet
Ledger Live cannot sign Bitcoin messages directly. For this reason, we use Electrum Wallet and connect Electrum with your Ledger to create the signature.
Only download Electrum from the official website: https://electrum.org/#download
Choose the correct version for your operating system, install Electrum, and then open the setup assistant.
Important: Never enter your 24 words, seed phrase, or recovery words in Electrum or any other software. Your Ledger remains the device that holds your keys. Electrum is only used as an interface.
Connect your Ledger with Electrum
- Connect your Ledger to the computer. Ledger Live should be closed.
- Unlock the Ledger and open the Bitcoin app on the device.
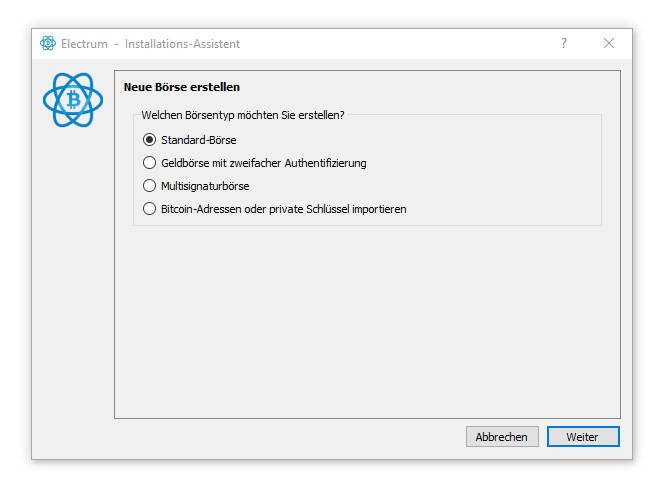
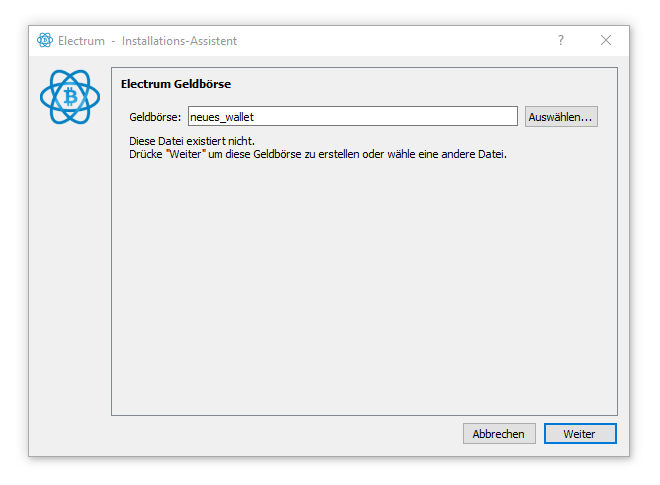
- In Electrum, create a new wallet file via File > New. You can choose any name.
Electrum asks for a name for the new local wallet file.
- Select Standard wallet and click Next.
Choose a standard wallet so Electrum can connect a normal Bitcoin account with your Ledger.
- Select Use a hardware device.
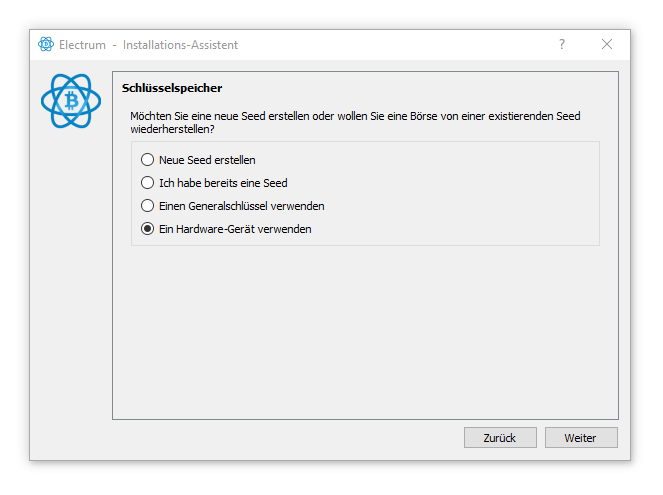
The Ledger is connected as a hardware device. Never enter your seed words in Electrum.
- Select your Ledger. If it does not appear, check that the device is unlocked and the Bitcoin app is open.
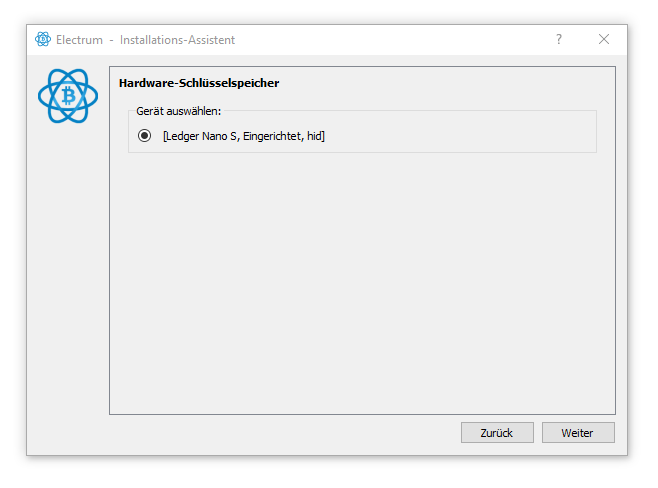
If the Ledger is unlocked and the Bitcoin app is running, it should be available in Electrum.
Select the derivation path
Electrum needs to know which Bitcoin sub-account from your Ledger should be used. The derivation path depends on the address type and account index.
You can find the address type in Ledger Live in the Bitcoin account you want to insure. Typical labels are:
- Legacy
- Segwit
- Native Segwit
The account index is the third number in the derivation path. The default account uses index 0. For example, if you use the fourth Bitcoin sub-account on your Ledger for Bitsurance, the index is 3.
You can find this information in Ledger Live in the account details under Edit account > Advanced. Look for the index value.
Examples:
- Default Native Segwit account: m/84'/0'/0'
- Fourth Native Segwit sub-account: m/84'/0'/3'
- Default Segwit account: m/49'/0'/0'
- Default Legacy account: m/44'/0'/0'
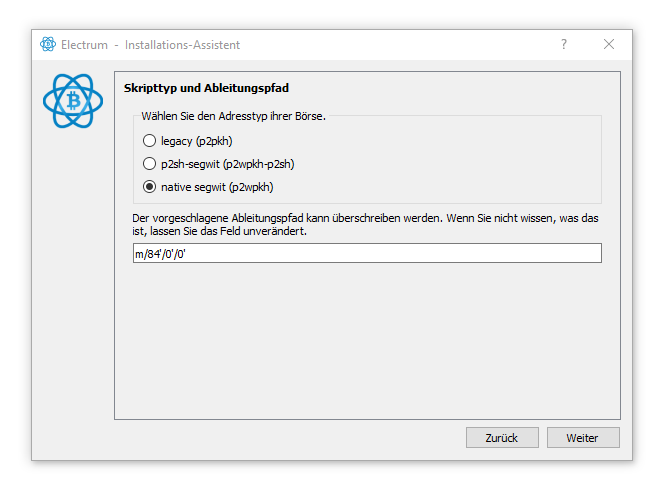
For a default Native Segwit account, the suggested path m/84'/0'/0' remains unchanged.
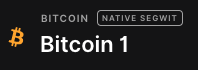
The account type in Ledger Live helps you choose the correct address type in Electrum.
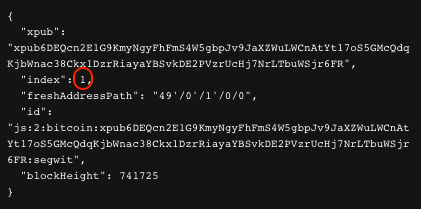
You can find the account index in the advanced account details in Ledger Live.
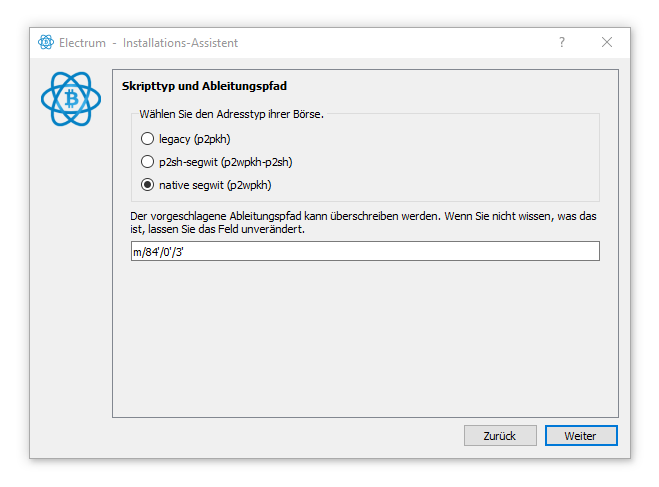
For the fourth sub-account, m/84'/0'/0' becomes m/84'/0'/3'.
Before continuing, check again that the Bitcoin app is open on your Ledger. Then complete the wallet setup in Electrum. Optionally, you can encrypt the local Electrum wallet file with a password.
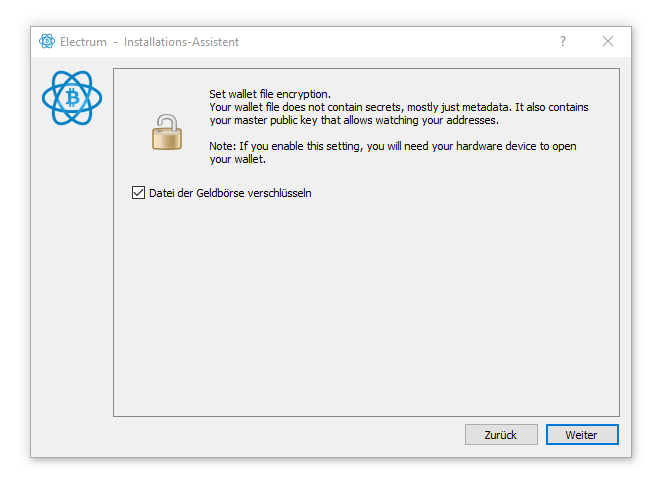
The local Electrum wallet file does not contain seed words, but it can be encrypted.
Sign the message
- In Electrum, open View and enable Show Addresses. This adds the Addresses tab.
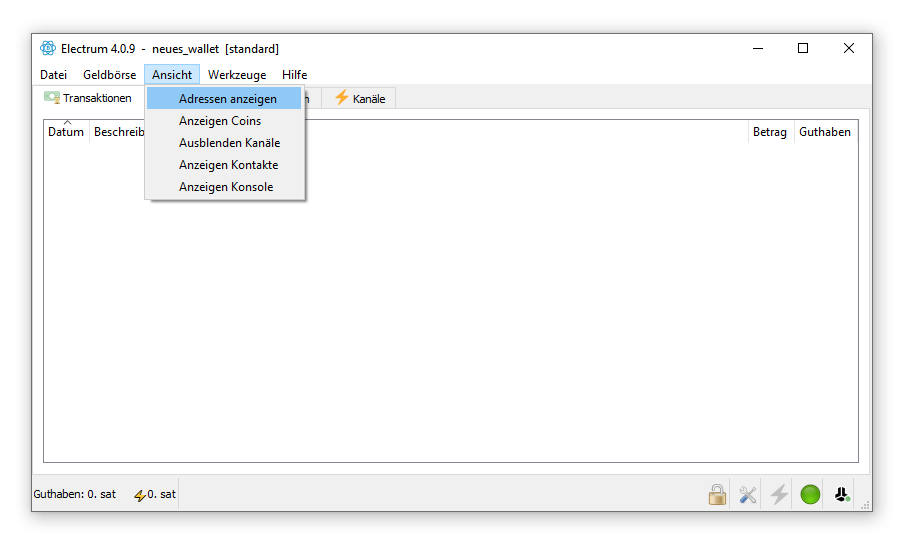
Enable the address view so you can select the receiving addresses of the connected account.
- Open the Addresses tab.
- Right-click the first address of the account you want to insure.
- Select Sign/verify message.
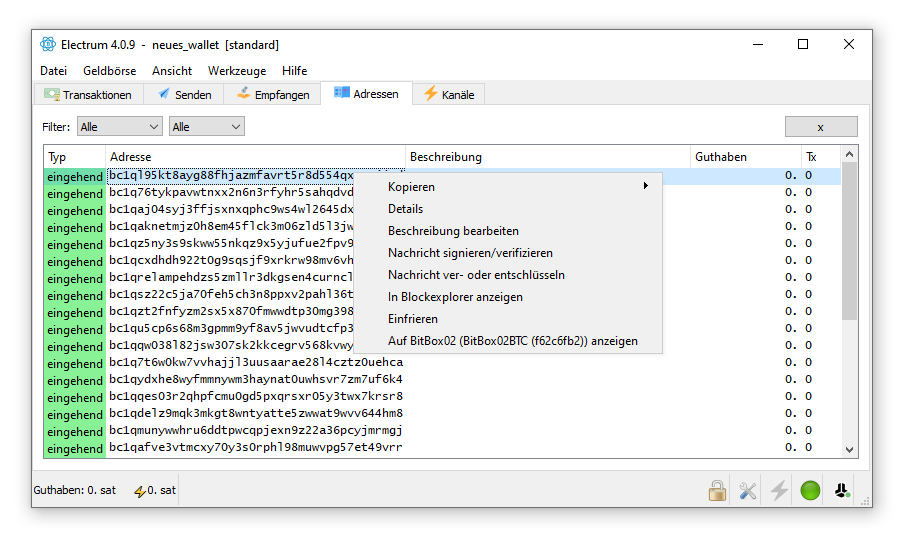
Open the signing dialog through the first address of the insured account.
- Copy the text shown in the Bitsurance registration flow.
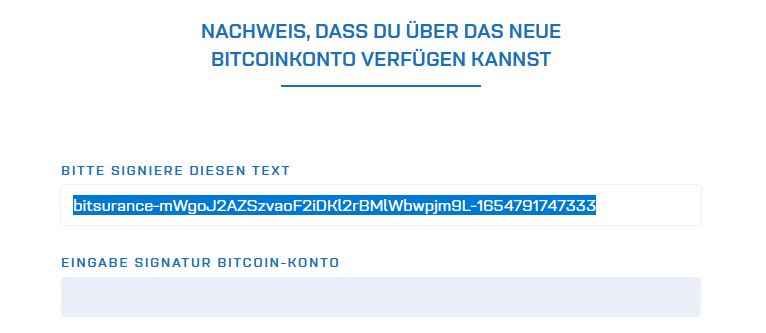
Copy the exact Bitsurance text shown on screen. This is the message you will sign.
- Paste this text into Electrum in the Message field.
- Click Sign.
- Confirm the signature on your Ledger.
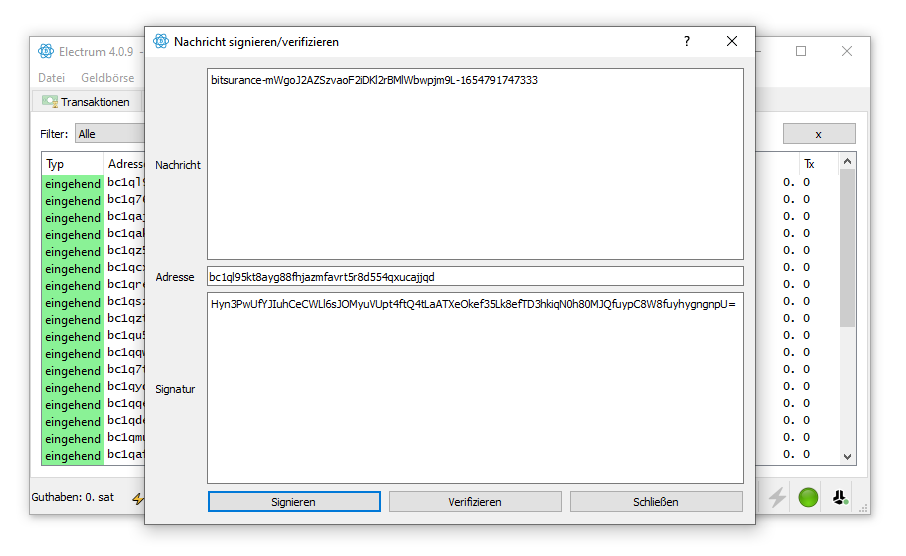
After signing, the signature appears in the lower field of the Electrum dialog.
- Copy the generated signature from Electrum.
- Paste the signature into the Bitsurance registration flow.
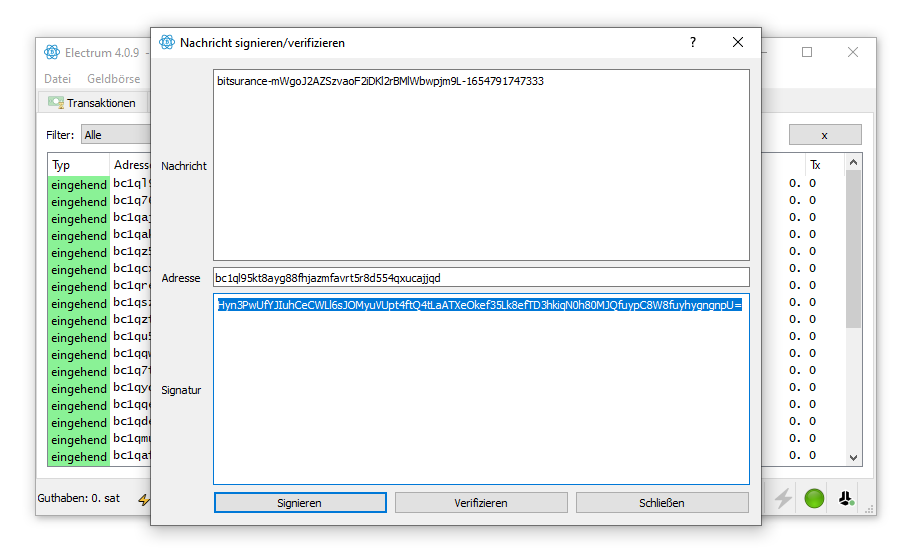
Copy the complete signature and paste it into the signature field at Bitsurance.
That's it. You have proven that you control the Bitcoin account without revealing private keys or seed words.